01
Let typography establish the hierarchy
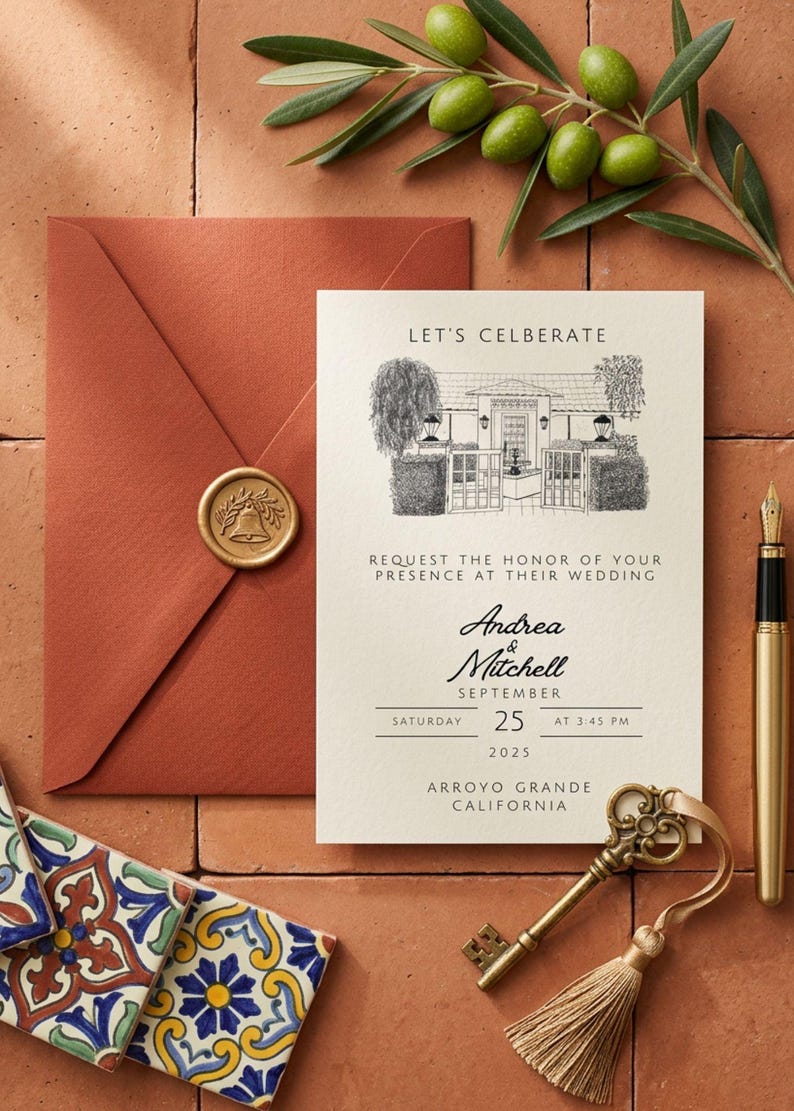
Make the couple’s names the focal point, then give the date, time and venue a consistent rhythm. One expressive font paired with a readable supporting font is often enough. Black-and-white design leaves little visual distraction, so uneven spacing and tiny wording become easier to notice.
- Read the names, date and venue in that order.
- Use script sparingly if letterforms are hard to distinguish.
- Check line breaks with the longest actual name and address.
02
Decide between light and dark backgrounds
Dark lettering on a light card and light lettering on a dark card can feel very different. A dark background may require different printing choices and careful checking of the edges. The digital template alone does not establish which production method your printer will use.
- Ask the printer how a dark background will be reproduced.
- Check thin strokes and small reversed text in a physical proof.
- Keep the selected template’s supported editing options in mind.
03
Use wording that reflects the dress code
A monochrome design does not automatically mean the event is black tie. Include a dress code only when it matches the actual plans. Put the requested attire on a details card or website if the main invitation is already full, and avoid using decorative wording where guests need a precise instruction.
- Name the ceremony and reception clearly.
- Keep dress-code wording consistent across cards and the website.
- Use the RSVP page for meal choices or other responses.
04
Coordinate pieces through layout, not just color
Matching cards can share type, spacing and a small illustration without repeating the invitation exactly. Check the listing before assuming a full suite is included. The current hand-sketched invitation is one design; an RSVP card, details card or sign can be discussed as a separate request.
- Choose the pieces guests actually need before asking for a quote.
- Confirm file dimensions and printing requirements for each piece.
- Check the proof for contrast, crop and readable fine detail.
Make it your own
A starting point for your invitation wording
Replace the placeholders with your confirmed details. Adjust the hosting line and tone to fit your celebration.
Together with their families[Name] and [Name]request the pleasure of your companyat their wedding[Day, date] at [time][Venue name], [city]Reception to followMore wedding invitation wording guidance
Final pass
Before you download or print
- Check every name and line break.
- Keep supporting text comfortably readable.
- Confirm the design’s recoloring options.
- Use an attire note only if it matches your event.
- Print a proof to assess fine lines and contrast.
Questions before choosing
Black and white wedding invitations: FAQs
Are black and white wedding invitations only for black-tie weddings?
No. Monochrome stationery can suit a range of events. The dress code should reflect the wedding plans, not the invitation color palette.
Can I turn the hand-sketched invitation completely black and white?
Review the product photos and supported editing options first. Do not assume fixed illustration elements can be recolored; ask the studio if a specific change matters.
Does the black and white invitation include RSVP cards?
The current hand-sketched listing covers one invitation design. Request any coordinating RSVP or details card separately and confirm what is included.
What should I check before printing black and white invitations?
Check fine lines, small text, crop and contrast in a printed proof. If the background is dark, confirm how your printer will reproduce it and finish the edges.